> ## Documentation Index
> Fetch the complete documentation index at: https://docs.cernel.com/llms.txt
> Use this file to discover all available pages before exploring further.
# Users & Team
> Manage your team members, invite new users, assign roles, and control access to your Cernel organization.
Cernel lets you invite team members to your organization and assign them roles that control what they can do. Admins manage the team, while regular users work with products, agents, and enrichment.
## How it works
Each Cernel organization has a list of users. Users are invited via email and can be assigned one of two roles: **Admin** or **User**. Admins have full access to all settings including user management, while regular users can work with the platform's core features.
If you have access to multiple organizations, you can switch between them without logging out.
### Why you would use this
Invite team members so multiple people can configure agents, run enrichment, and review results.
Admin-only access for sensitive settings like integrations, user management, and API keys. Regular users focus on content work.
## Managing users
### Viewing your team
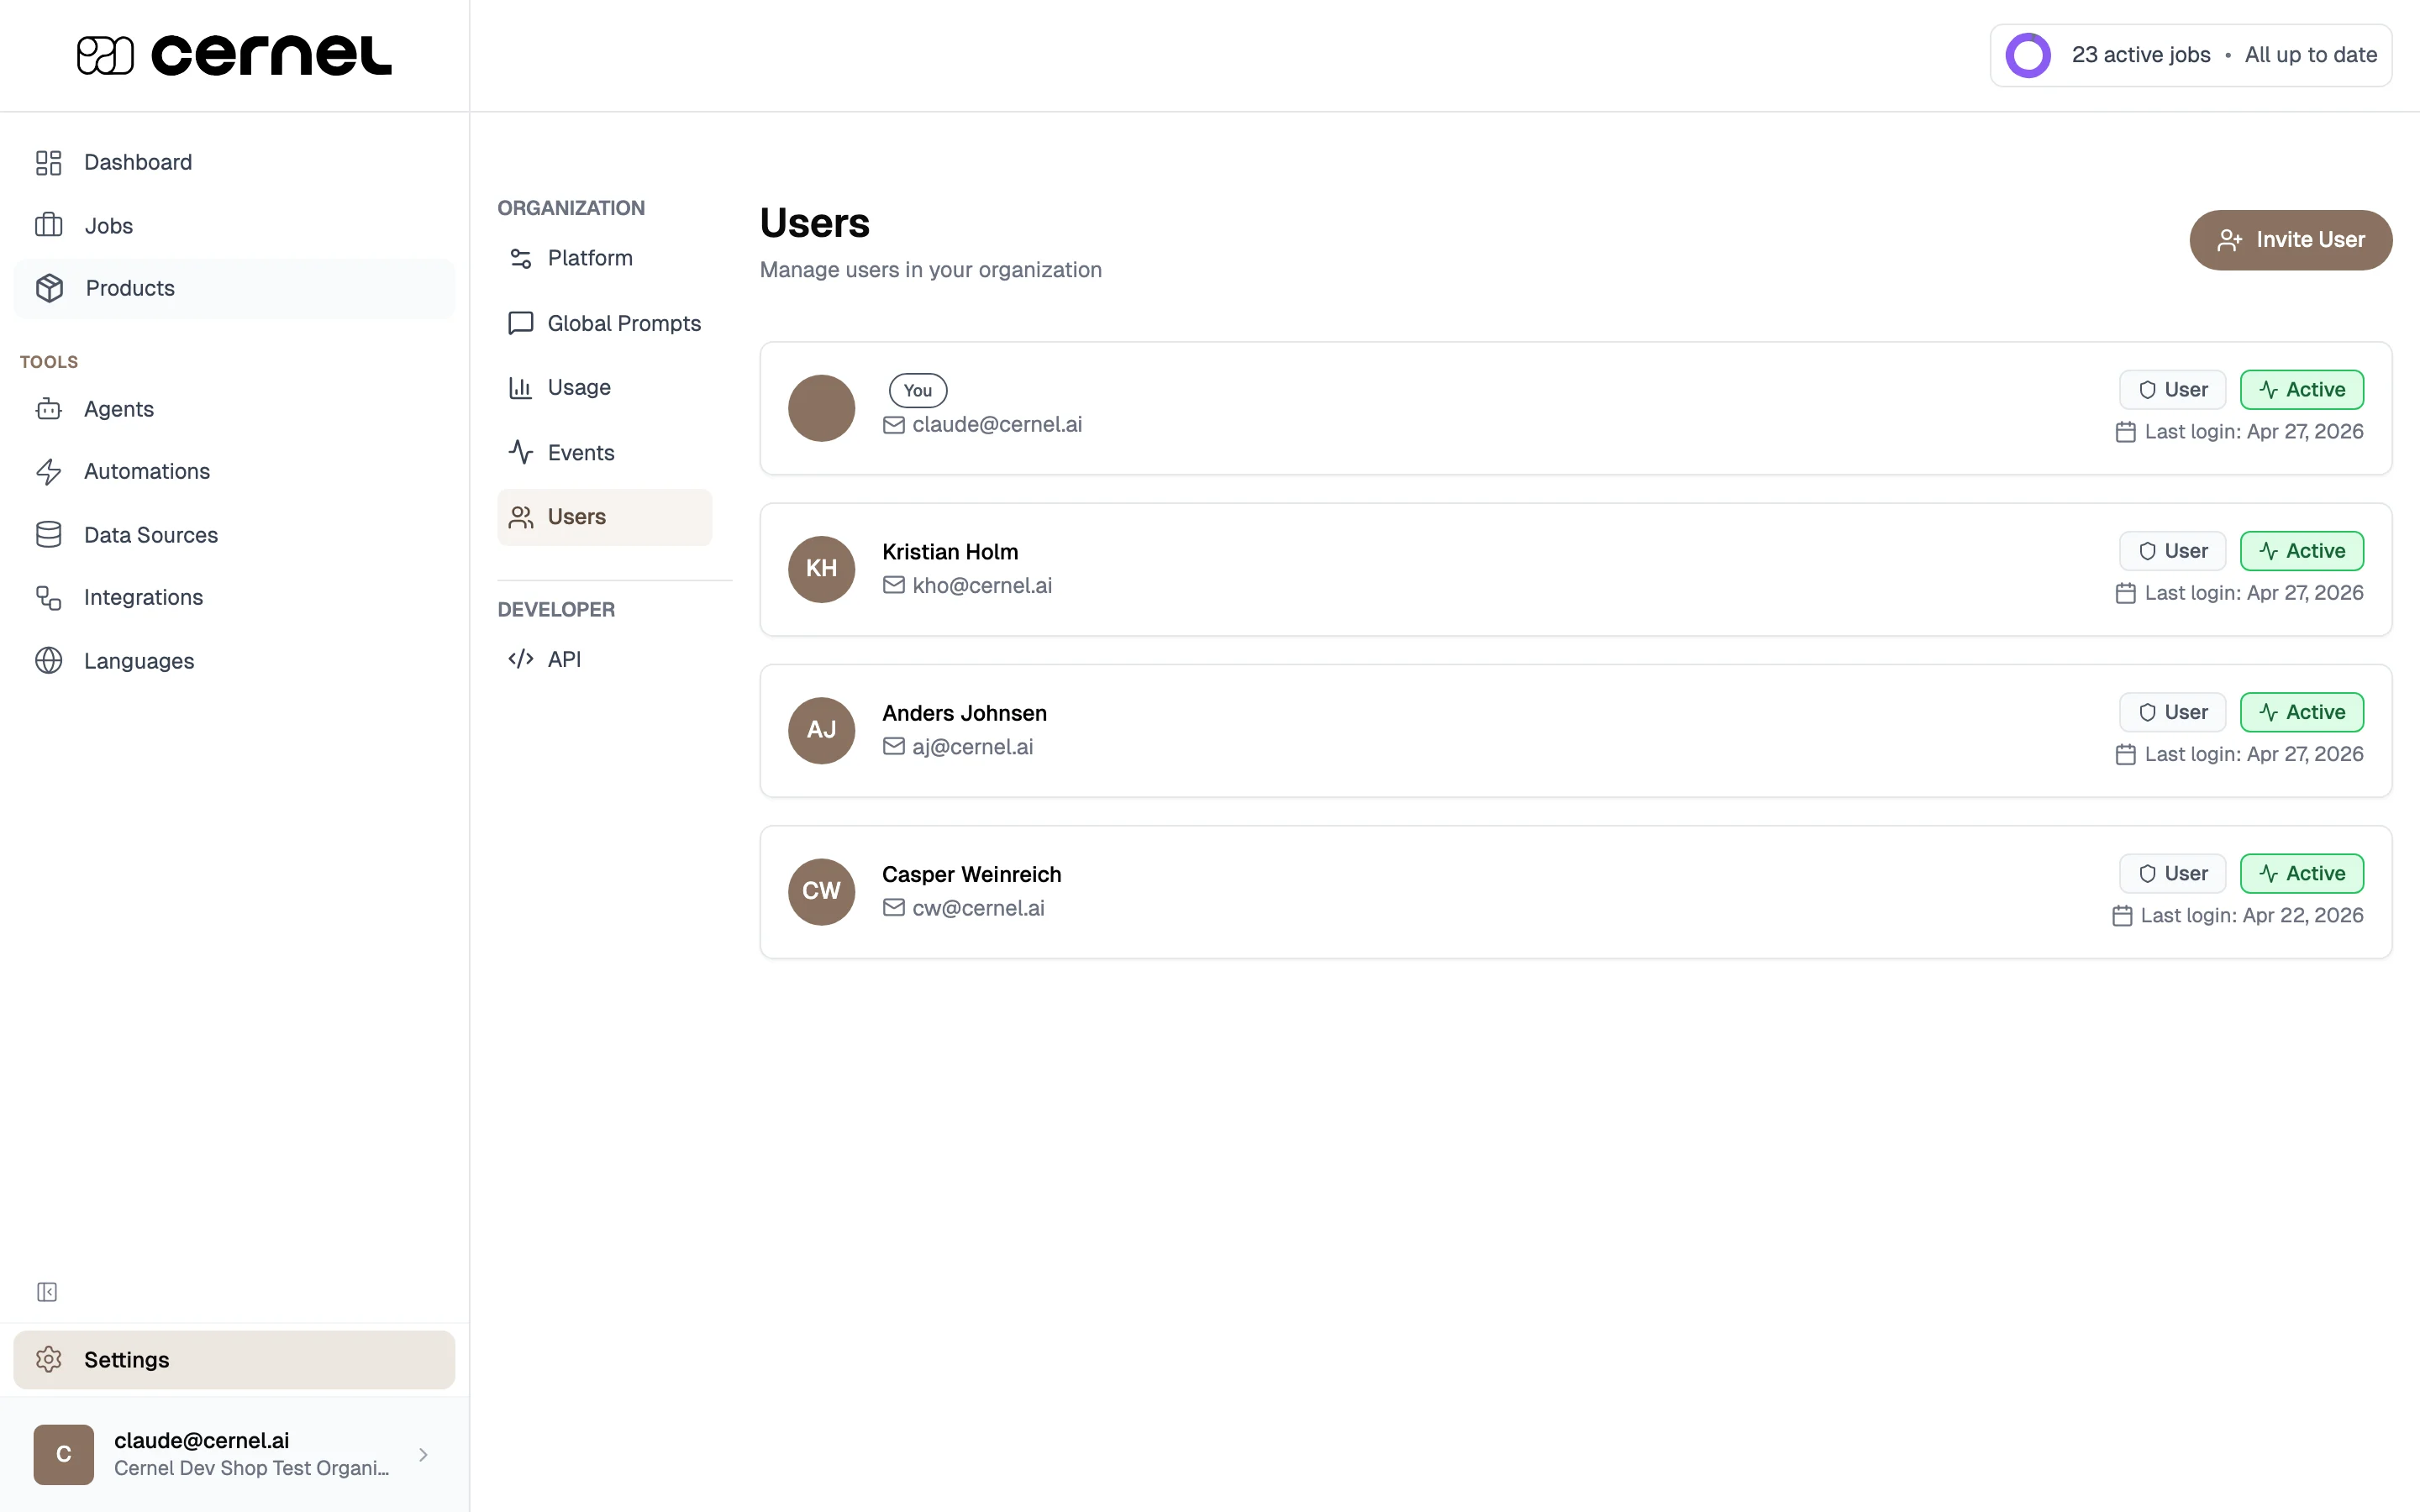
Go to **Settings > Users** to see all members of your organization. Each user card shows:
* **Name** with a "You" badge for your own account
* **Email address**
* **Role** (Admin or User)
* **Status** (Active or Inactive)
* **Last login** timestamp
 ### Inviting a new user
On the Users page, click **Invite User** to open the invitation modal.
### Inviting a new user
On the Users page, click **Invite User** to open the invitation modal.
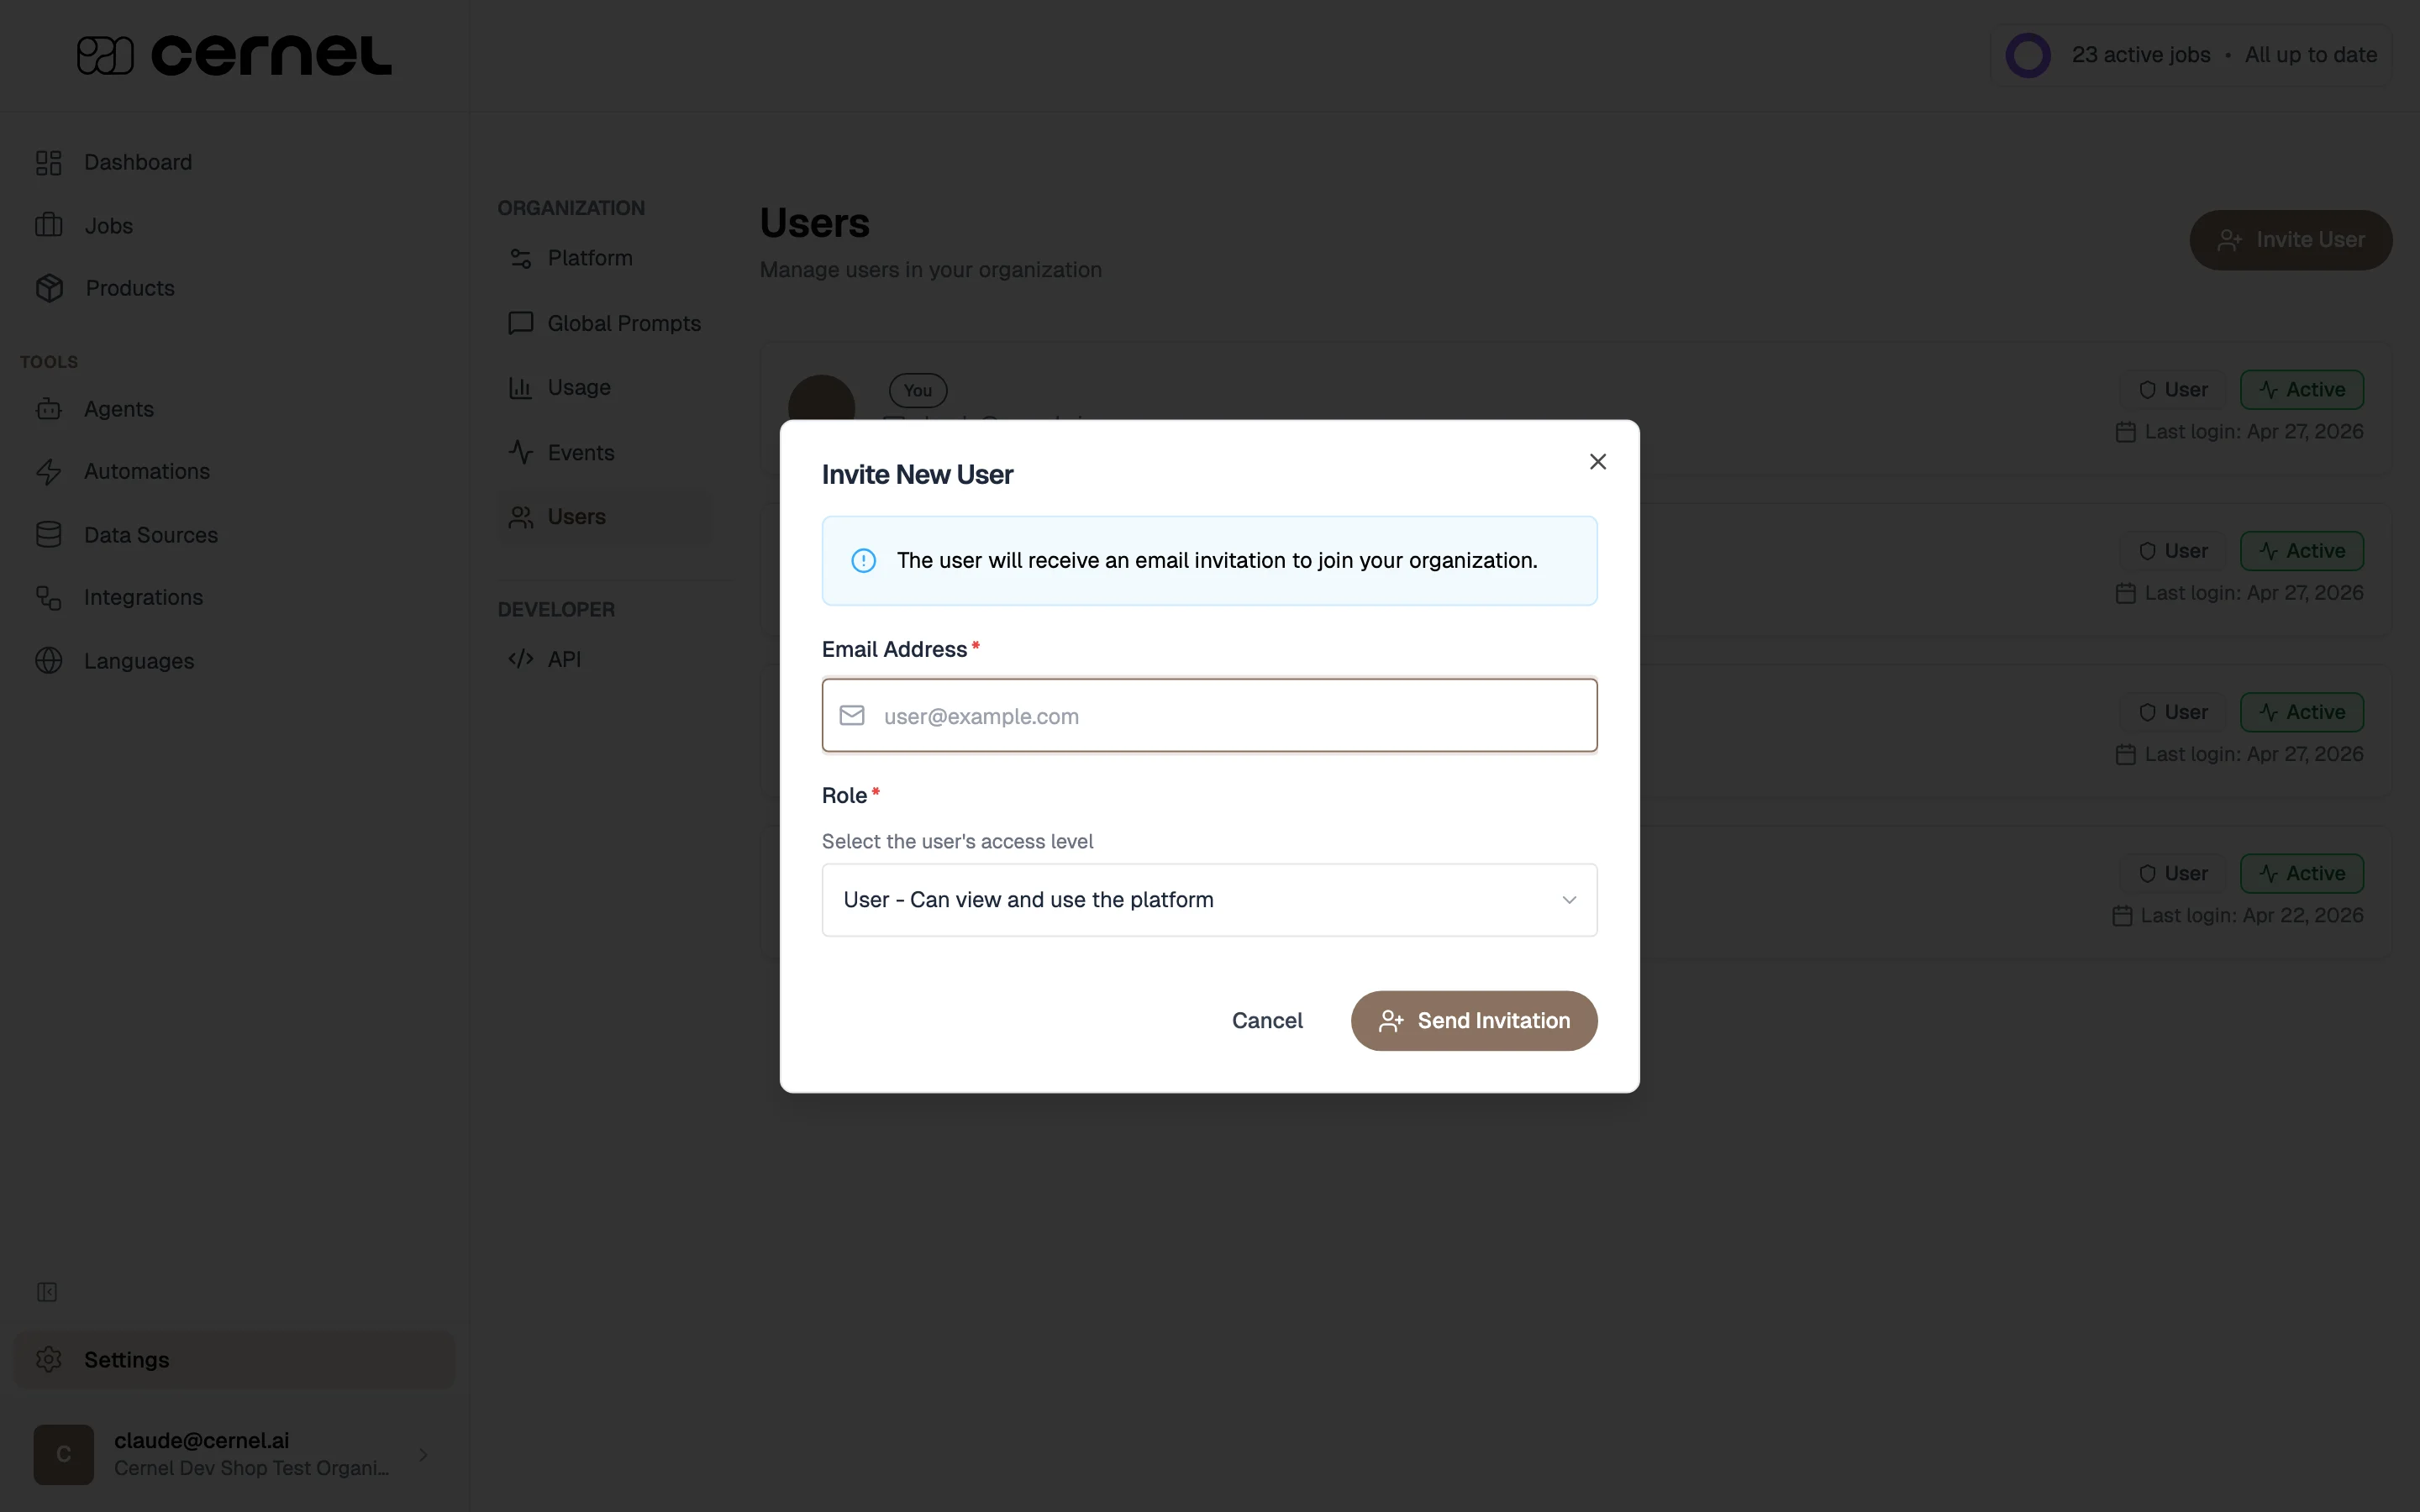 Fill in:
* **Email Address** - The email where the invitation will be sent
* **Role** - Choose **User** (standard access) or **Admin** (full access including settings management)
New users receive an invitation email to set up their account. They'll need to create a password before they can log in.
Click **Send Invitation**. The user appears in your team list with an "Inactive" status until they complete their account setup.
The invitation has been sent. The user will appear as "Active" once they set up their account and log in.
### Changing a user's role
Admins can change any user's role by clicking the role badge on their user card. Select the new role from the dropdown. Changes take effect immediately.
### Removing a user
Admins can remove users by clicking the delete icon on their user card. A confirmation dialog asks you to verify. Removing a user revokes their access to the organization but doesn't delete any content they created.
## Your profile
Click your name in the sidebar to access your profile, or navigate to **Profile** directly. Here you can:
* **Edit your name** (first and last name)
* **View your email** (read-only)
* **Change your password** via the change password drawer
* **See your account details** (role, status, member since, last login)
## Roles and permissions
| Capability | Admin | User |
| ------------------------------------------- | ----- | ---- |
| View and enrich products | Yes | Yes |
| Create and edit agents | Yes | Yes |
| Configure attributes | Yes | Yes |
| Run enrichment | Yes | Yes |
| Review and approve content | Yes | Yes |
| Manage integrations | Yes | No |
| Manage users (invite, remove, change roles) | Yes | No |
| Configure platform settings | Yes | No |
| Access API and webhooks | Yes | No |
| View usage metrics | Yes | Yes |
## Switching organizations
If you have access to multiple Cernel organizations, you can switch between them from the organization switcher in the sidebar. Your current organization is shown, and a dropdown lets you select a different one. Switching is instant and doesn't require logging out.
## Frequently asked questions
No. Only other admins can change your role. This prevents accidental loss of admin access. Every organization must have at least one admin.
The user immediately loses access to the organization. They can no longer log in or view any data. Content they created (agents, enrichment results, configurations) is not deleted.
Email addresses are set during account creation and cannot be changed through the profile page. Contact support if you need to update your email.
There is no limit on the number of users you can invite to your organization. Invite as many team members as you need.
## What's next
Explore all platform settings available to admins.
Share this page with new team members to help them get started.
Fill in:
* **Email Address** - The email where the invitation will be sent
* **Role** - Choose **User** (standard access) or **Admin** (full access including settings management)
New users receive an invitation email to set up their account. They'll need to create a password before they can log in.
Click **Send Invitation**. The user appears in your team list with an "Inactive" status until they complete their account setup.
The invitation has been sent. The user will appear as "Active" once they set up their account and log in.
### Changing a user's role
Admins can change any user's role by clicking the role badge on their user card. Select the new role from the dropdown. Changes take effect immediately.
### Removing a user
Admins can remove users by clicking the delete icon on their user card. A confirmation dialog asks you to verify. Removing a user revokes their access to the organization but doesn't delete any content they created.
## Your profile
Click your name in the sidebar to access your profile, or navigate to **Profile** directly. Here you can:
* **Edit your name** (first and last name)
* **View your email** (read-only)
* **Change your password** via the change password drawer
* **See your account details** (role, status, member since, last login)
## Roles and permissions
| Capability | Admin | User |
| ------------------------------------------- | ----- | ---- |
| View and enrich products | Yes | Yes |
| Create and edit agents | Yes | Yes |
| Configure attributes | Yes | Yes |
| Run enrichment | Yes | Yes |
| Review and approve content | Yes | Yes |
| Manage integrations | Yes | No |
| Manage users (invite, remove, change roles) | Yes | No |
| Configure platform settings | Yes | No |
| Access API and webhooks | Yes | No |
| View usage metrics | Yes | Yes |
## Switching organizations
If you have access to multiple Cernel organizations, you can switch between them from the organization switcher in the sidebar. Your current organization is shown, and a dropdown lets you select a different one. Switching is instant and doesn't require logging out.
## Frequently asked questions
No. Only other admins can change your role. This prevents accidental loss of admin access. Every organization must have at least one admin.
The user immediately loses access to the organization. They can no longer log in or view any data. Content they created (agents, enrichment results, configurations) is not deleted.
Email addresses are set during account creation and cannot be changed through the profile page. Contact support if you need to update your email.
There is no limit on the number of users you can invite to your organization. Invite as many team members as you need.
## What's next
Explore all platform settings available to admins.
Share this page with new team members to help them get started.