Create reusable AI instructions that generate product content consistently across your entire catalog.
AI Agents are reusable sets of instructions that tell Cernel’s AI exactly how to generate content for your products. Set up an agent once (define the prompt, style, and behavior) then assign it to categories in your taxonomy. When you run enrichment, agents generate attribute values for hundreds or thousands of products at once, consistently and on-brand.
An AI agent is a configured AI with a specific job: generate product descriptions, extract materials from images, classify products by gender, create meta titles, whatever content your products need.You build an agent by defining its prompt (the instructions the AI follows), selecting the attribute type it produces (Text, HTML, Single Select, Multi Select, External Data, or Media), and optionally referencing Data Sources for brand guidelines and context. Once created, you link the agent to an attribute on one or more categories in your Cernel Taxonomy. The agent then generates content for every product in those categories when you run enrichment.The key concept: agents are independent from categories. You create them once and reuse them wherever they’re needed. Change an agent’s prompt, and every category using that agent picks up the update.
Instead of writing separate prompts for every category, create an agent and assign it wherever it applies. One “Product Description” agent can serve your entire catalog.
Keep your brand voice consistent
Agents reference your Data Sources (brand guidelines, tone of voice, product terminology). Every product gets content that sounds like your brand, not generic AI output.
Specialize by product type
Use different agents for different categories. A footwear description agent knows to mention cushioning and sole type. A clothing description agent focuses on fit and fabric. Same attribute, different expertise.
Iterate without re-doing work
Update an agent’s prompt and re-run enrichment to regenerate content with the new instructions. No need to reconfigure every category. The agent update cascades automatically.
Key concept: Agent. A configured AI with specific instructions, called prompts, that generates data for your products. Agents are created once and linked to attributes across categories in your Cernel Taxonomy.
In the sidebar, click Agents under the Tools section. You’ll see your agents grouped by attribute type, with each agent showing its name and creation date.
2
Click Create Agent
Click Create Agent to open the agent creation wizard. The wizard walks you through each configuration step.
3
Select the attribute type
Choose what type of content this agent will generate:
Text: Plain text like product descriptions and meta titles
HTML: Rich formatted content with HTML markup
Single Select: Choose one value from a list (e.g., Gender: Male / Female / Unisex)
Multi Select: Choose multiple values from a list (e.g., Materials: Cotton, Polyester)
External Data: Data fetched from an external source (e.g., GTIN matching)
Media: Image content generated or sourced by AI
4
Configure the prompt
You have two ways to write your prompt. You can describe what you want in plain language and let Cernel’s AI generate a complete prompt for you, or you can write the prompt yourself from scratch.Option A: Describe your intent (recommended)Type a short description of what the agent should do, for example: “Write a 150-word product description that’s professional but approachable, focusing on materials and fit.” Cernel’s AI analyzes your intent and generates a full, optimized prompt with the right structure, references, and instructions.Option B: Write your own promptClick I want to write my own prompt to open the prompt editor directly. Be specific about:
What to generate: the exact type of content (e.g., “a 150-word product description”)
Tone and style: your brand voice (e.g., “professional but approachable”)
What to include: specific details the output must cover
What to avoid: content or phrasing to exclude
Referencing Data Sources in your promptWhether you wrote the prompt yourself or the AI generated it, you can insert context from your Data Sources library. Type / in the prompt editor to open the reference menu. You can insert:
Product Data - product title, images, GTIN, brand, and other product attributes
Data Sources - entries from your organization’s context library (brand voice, product rules, compliance guidelines)
Category Attributes - other attribute values already generated on the same product
Each reference appears as a labeled pill inline with your prompt text. When the AI runs, the pill is replaced with the actual content. This keeps your prompts clean and maintainable - store your brand guide once in Tools > Data Sources and reference it wherever you need it. Update the Data Source, and every agent using it picks up the change automatically.The reference picker shows a clickable breadcrumb trail at the top of each submenu (for example, Data Sources > Models > ToV), so you can jump straight back to a parent level when you’ve dug too deep. Search inside the picker is space-tolerant — type Specifications type 1 and it matches entries named specifications_type_1.
Start simple. A focused 3-4 sentence prompt often outperforms a lengthy one. You can always add detail after reviewing the initial results.
5
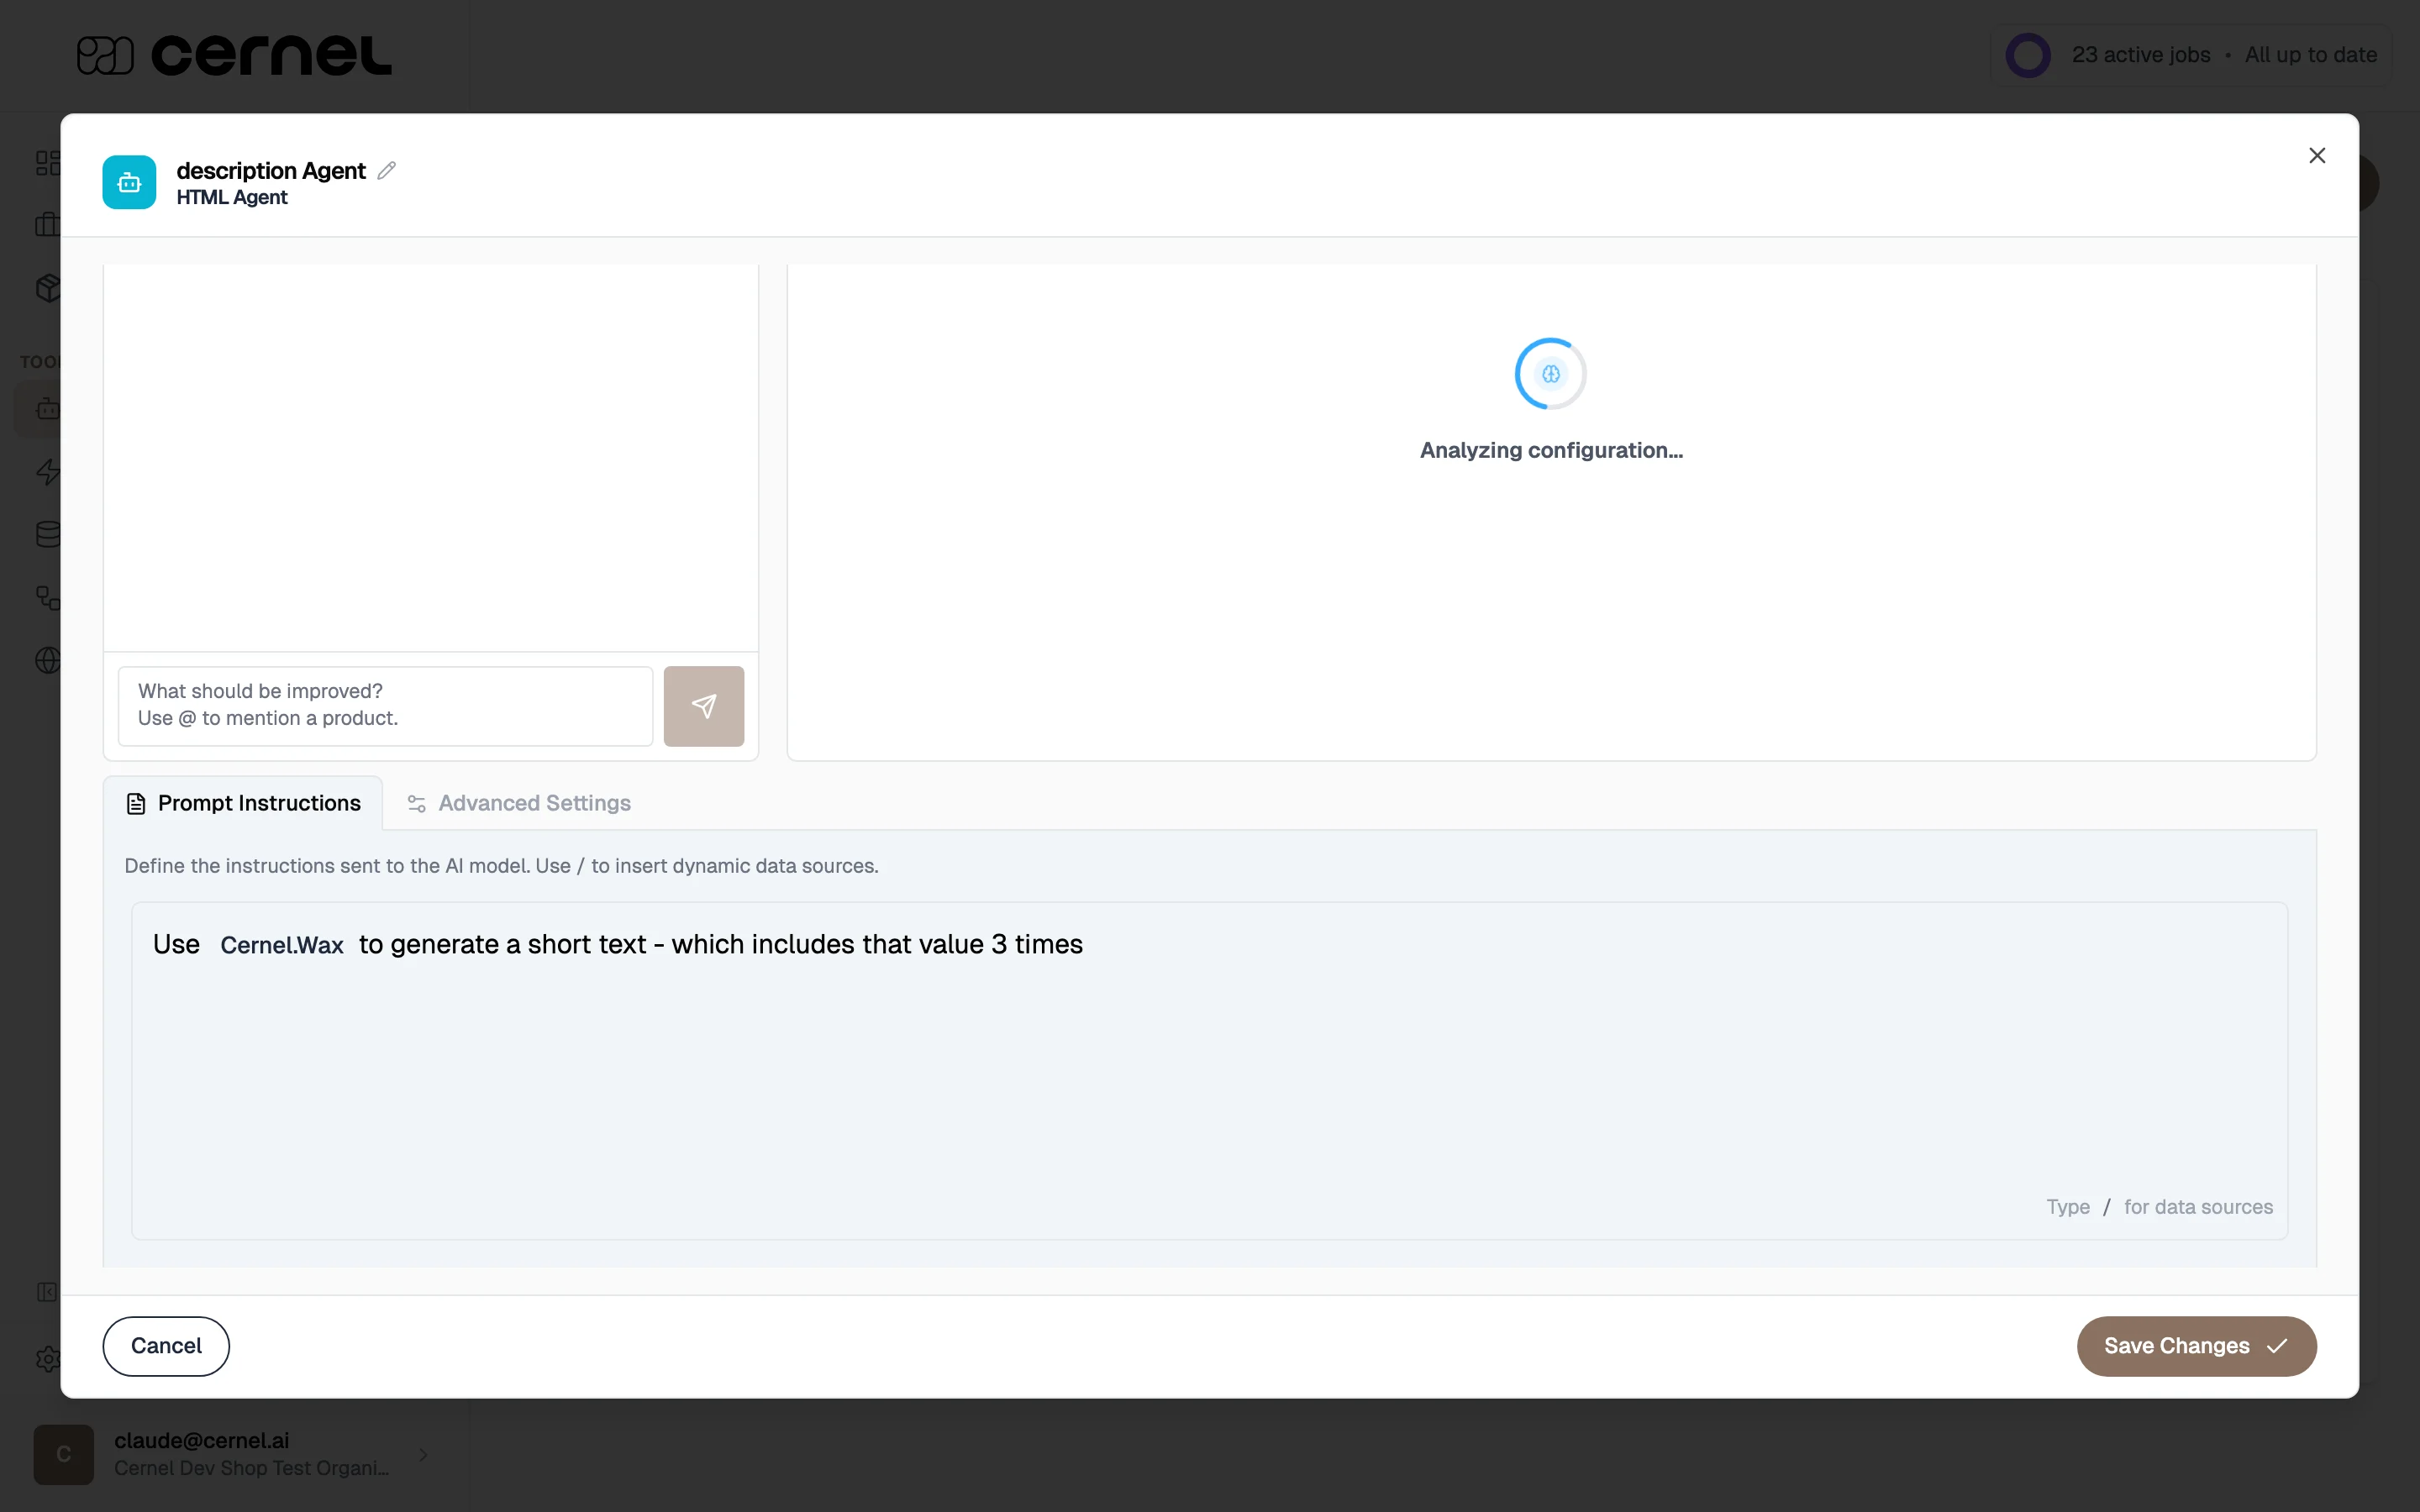
Test in the sandbox and refine
Before saving, test your agent on real products in the Agent Sandbox. Select up to 10 products (or click 5 Random to pick a quick sample) and run the sandbox. You’ll see the AI-generated output for each product, including the reasoning behind its choices and the source data it used.If the output isn’t quite right, use the agent chat on the left side of the screen to tell the AI what to change. For example: “Make the descriptions shorter” or “Don’t mention competitor brands.” You can reference specific products in the chat using @ to point out exactly what needs improving. The AI updates your prompt automatically based on your feedback, and the sandbox re-runs on the same products so you can see the change.Each refinement creates a new version of your prompt. Use the undo and redo buttons to compare versions and go back if a change didn’t improve things. Keep iterating: adjust the prompt through chat, review the new results, and repeat until you’re happy. See Agent Sandbox for the full reference, including @-mentions, the detail drawer, and per-type behavior.
Test with products from different categories and price points. An agent that works well for running shoes might need adjustment for dress shoes. Catching these edge cases in the sandbox saves time later.
6
Save the agent
Once you’re satisfied with the output, save the agent. It’s now available to link to attributes on any category in your taxonomy.
You’ve created an AI agent. Next, link it to an attribute on a category in your Cernel Taxonomy to start generating content for products.
Go to your Catalog in the sidebar and select the category where you want this agent to generate content.
2
Open the attribute settings
Find the attribute you want the agent to generate (or create one first, see Cernel Taxonomy). Click the settings icon on the attribute row.
3
Link the agent
In the attribute configuration panel, select the agent from the dropdown. The agent is now linked and will generate values for this attribute whenever you run enrichment on products in this category.
Each attribute can only have one agent linked at a time. If you select a new agent, it replaces the previous one. You can also unlink an agent to stop it from generating values for that attribute.
The agent is linked. Products in this category (and all subcategories) will use this agent when you run enrichment.
From the product table, select the products you want to generate content for. You can select individual products or use bulk selection to pick all products in a category.
2
Choose attributes and start enrichment
Click Enrich Products. The enrichment modal shows the available attributes (those with linked agents) and how many products will be processed. Select the attributes you want to generate and click Start Enrichment.
3
Monitor the job
Enrichment runs as a background job. You can track progress from the Dashboard, which shows active jobs with their status: Pending, Running, Completed, or Failed.
4
Review and approve results
Once the job completes, review the AI-generated content. Each product shows the generated values alongside the original data. You can approve, edit, or reject each result before it gets pushed to your connected integrations.
You’ve successfully run enrichment and reviewed the results. Approved content is ready to sync to your connected integrations like Shopify.
The Prompt Template Library gives you pre-built agents for common content types. Each template includes a tested prompt, the right attribute type, and configuration that’s ready to use.To use a template:
On the Agents page, click Create Agent to open the agent creation wizard
During the creation flow, you can choose from pre-built templates for common attribute types (Text, HTML, Single Select, Multi Select, External Data, Media)
Click a template card to preview it - the wizard opens with all fields pre-filled
Give the agent a name, review the pre-filled prompt, and save
Templates are starting points, not final configurations. After creating the agent, edit the prompt to add your brand voice, reference your Data Sources, and adjust the instructions for your specific products.Recommended workflow for new users:
Connect your product source (Shopify, CSV, Feed, or API)
Apply AI recommendations from the Dashboard
Create agents from templates for each recommended attribute
Test on 5-10 products and review quality
Customize prompts - add your brand voice via Data Sources
Scale up - enrich your full catalog or set up Automations
Agent reasoning
When reviewing generated content, you can view the Agent Reasoning, which is a breakdown of how the AI arrived at its output. This is helpful for understanding why the AI chose specific wording or values, and for refining your prompts.
Dependencies between agents
Some agents can depend on the output of other agents. For example, a “Meta Description” agent might reference the output of a “Product Description” agent to create a shorter summary. Configure dependencies in the agent creation wizard under the dependencies step.When you run enrichment, Cernel processes dependent agents in the correct order automatically.
LLM settings
Advanced users can adjust the AI model configuration for each agent, including parameters that control creativity, length, and consistency of the output. These settings are available in the agent configuration under LLM settings.
External Data agents: Classic vs Agentic mode
External Data agents that search the web for text data (specifications, descriptions, materials sourced from manufacturer sites) have two modes. You pick the mode in the search configuration step when you build the agent.Classic mode. You define exactly which search queries to run and which sites Cernel pulls results from. Cernel searches those sources, then extracts and combines the results following your prompt. Best when you already know the canonical sources for a product type (e.g., a single supplier portal or a fixed list of vendor pages) and want predictable, repeatable searches.Agentic mode. Cernel plans and runs the searches for you, one product at a time, based on the product’s own details. You don’t write search queries — the agent reads the product and decides what to look up. You still control which domains are in scope through two lists in Website Filtering:
Block these domains — results from these domains are excluded
Restrict to these domains — when non-empty, only these domains are considered
Use Agentic mode when products vary too much for one query template to cover them — for example, sourcing technical specs across thousands of SKUs from manufacturers you don’t enumerate up front.Product Matching appears in both modes. It tells the agent which web result actually belongs to the product in front of it. You can:
Match by [identifier] — pick a product identifier such as SKU, GTIN, or EAN. The agent requires that identifier to appear in the result to count as a match. Highest accuracy when you have identifiers in your catalog.
Match by Broad search — match on the product’s title and details instead. More flexible, but more likely to surface inaccurate results.
Custom match criteria (optional) — add extra words or codes a result must contain. Leave blank to match on the title automatically.
What to Extract (the prompt at the bottom of the search step) tells the AI what to pull out of the matched results and how to present it. Type / to insert references to product data, Data Sources, or other attribute values, exactly like the prompt step for a Text agent.
Try Agentic mode first when your products are highly varied or when you don’t have a fixed list of vendor sites. Switch to Classic when you have a small, known set of sources and want full control over the queries.
External Image Enrichment
Create an External Data agent in image mode to search the web for product images, extract them from pages, and return a curated list. Image mode uses the same Classic configuration described above for text — you define the search queries and extraction prompt yourself. (Agentic mode is for text data only.)The pipeline has three stages:
Search: The agent runs web searches using queries you define (e.g., product name + brand + “product photo”)
Extract: Cernel visits the search result pages and extracts images, guided by your extraction prompt
Output: A deduplicated list of images is returned as the attribute value, ready for review
To set it up:
Create an agent with External Data as the attribute type, then switch to Image mode
Define search queries that reference product data (e.g., {product_name} {brand} product photo)
Write an extraction prompt that tells the AI what images to look for (e.g., “Extract high-resolution product photos, ignore thumbnails and navigation images”)
Link the agent to an External Data attribute on your taxonomy and run enrichment
Chaining with Media agents: Once you have web-sourced images, pass them to a Media agent that selects the best image, generates variations, or creates styled photography. Set up the dependency in the Media agent’s configuration so it references the External Data attribute’s output. Cernel processes agents in the correct order automatically.
Be specific in search queries - include brand name, product type, and image style (e.g., “on model”, “flat lay”). Use the extraction prompt to filter noise like navigation icons, banners, and ads.
Global Prompts
In Settings > Global Prompts, you can configure system-level prompt instructions that apply to all agents. Use this for organization-wide rules like “never use superlatives” or “always mention sustainability” that should apply regardless of the specific agent.
Re-running enrichment on products that already have approved values will generate new values. The previous approved content will be overwritten if you approve the new results. Review carefully before approving regenerated content.
How do I update an agent's prompt for all categories at once?
Just edit the agent. Go to Agents, find the agent, and update its prompt. Because the agent is linked to categories (not copied), every category using that agent will use the updated prompt the next time you run enrichment. You don’t need to update each category separately.
Why is the AI output not matching my brand voice?
Check three things:
Your agent prompt: make sure it includes specific style and tone instructions, not just what to generate. Open the agent, run the sandbox, and use the agent chat to tell the AI exactly what to adjust.
Data Sources: reference a Data Source containing your brand guidelines in the prompt. Type / in the prompt editor to insert one.
Global Prompts: check Settings > Global Prompts for any system-level instructions that might conflict with your agent’s style.
Use the sandbox to test changes on a few products before running enrichment on your full catalog.
Can I use the same agent for different attribute types?
No. Each agent is configured for a specific attribute type (Text, HTML, Single Select, etc.). If you need similar content in different formats, create separate agents (one for Text and one for HTML, for example) with similar prompts.
Can I duplicate an existing agent?
Not directly, but you can create a new agent and apply the same template, then modify the prompt. For complex agents, note your prompt configuration before creating the new one.
What happens if I delete an agent that's linked to categories?
Cernel warns you before deleting an agent that’s in use. If you proceed, the agent is unlinked from all categories. The attributes remain, but they no longer have an agent generating values. Previously generated content is not deleted.
How many products can I enrich at once?
You can enrich an entire category at once, regardless of size. Cernel processes enrichment as background jobs, so large batches run without blocking the rest of the platform. You can monitor progress from the Dashboard.
Can I review AI-generated content before it goes live?
Yes. By default, enrichment results go through a review step. You can enable Approve Before Push in Settings > Platform to require explicit approval before any content syncs to your connected integrations. This gives you full control over what gets published.