Generate AI-powered product content in multiple languages and configure language-specific prompts.
Cernel supports multi-language content generation. Enable the languages your store needs, give each one a translation prompt to guide AI output, and generate enriched content across all your active languages in a single enrichment run.
Your organization has a primary language and can enable additional languages. When you run enrichment, Cernel generates content in each enabled language. Each language can carry its own translation prompt - additional context for that language, like grammar rules, cultural preferences, or terminology that should be used.Languages are managed under Tools > Languages:
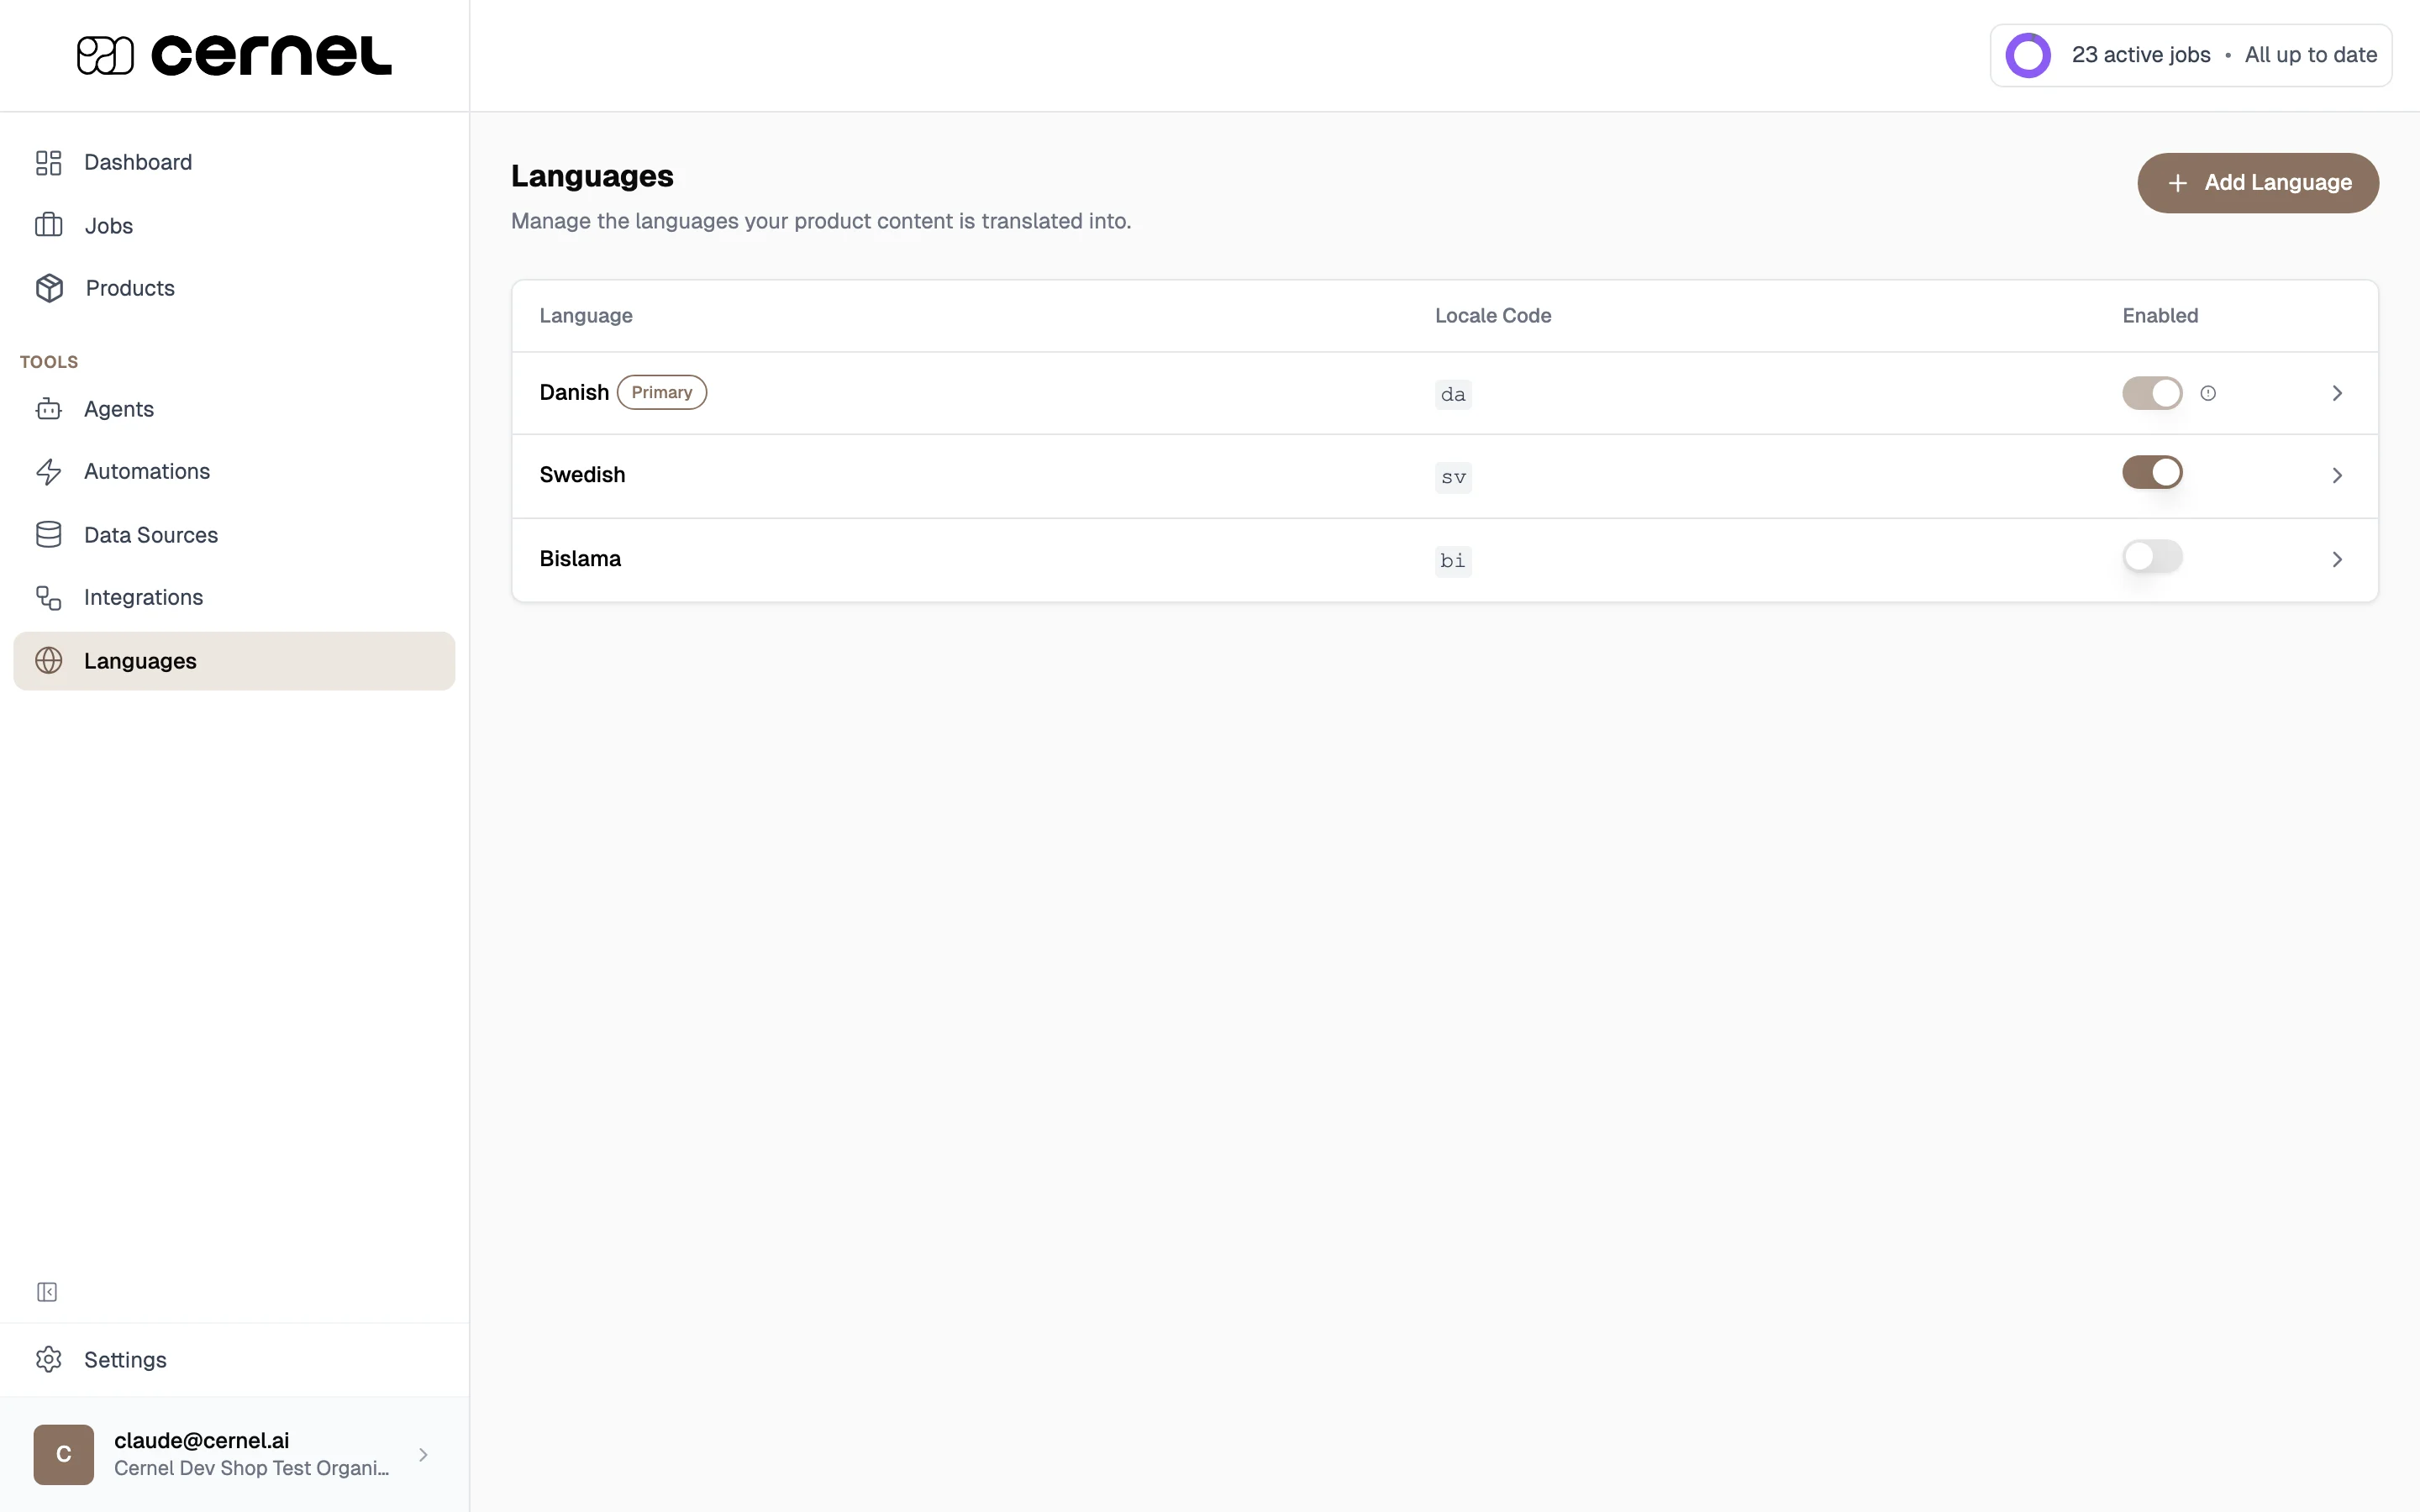
The languages list is where you enable or disable languages and add new ones.
Each language has its own detail page - open it to write that language’s translation prompt and control how it’s used during enrichment.
Beyond these organization-wide settings, you can refine how content reads in a given language for a single agent, and decide which languages a single attribute is written in. See Fine-tuning language output.
Go to Tools > Languages. You’ll see a table of available languages with their language code and status. Toggle languages on or off using the switch in each row.Your primary language is marked with a badge and cannot be disabled.
2
Add a new language
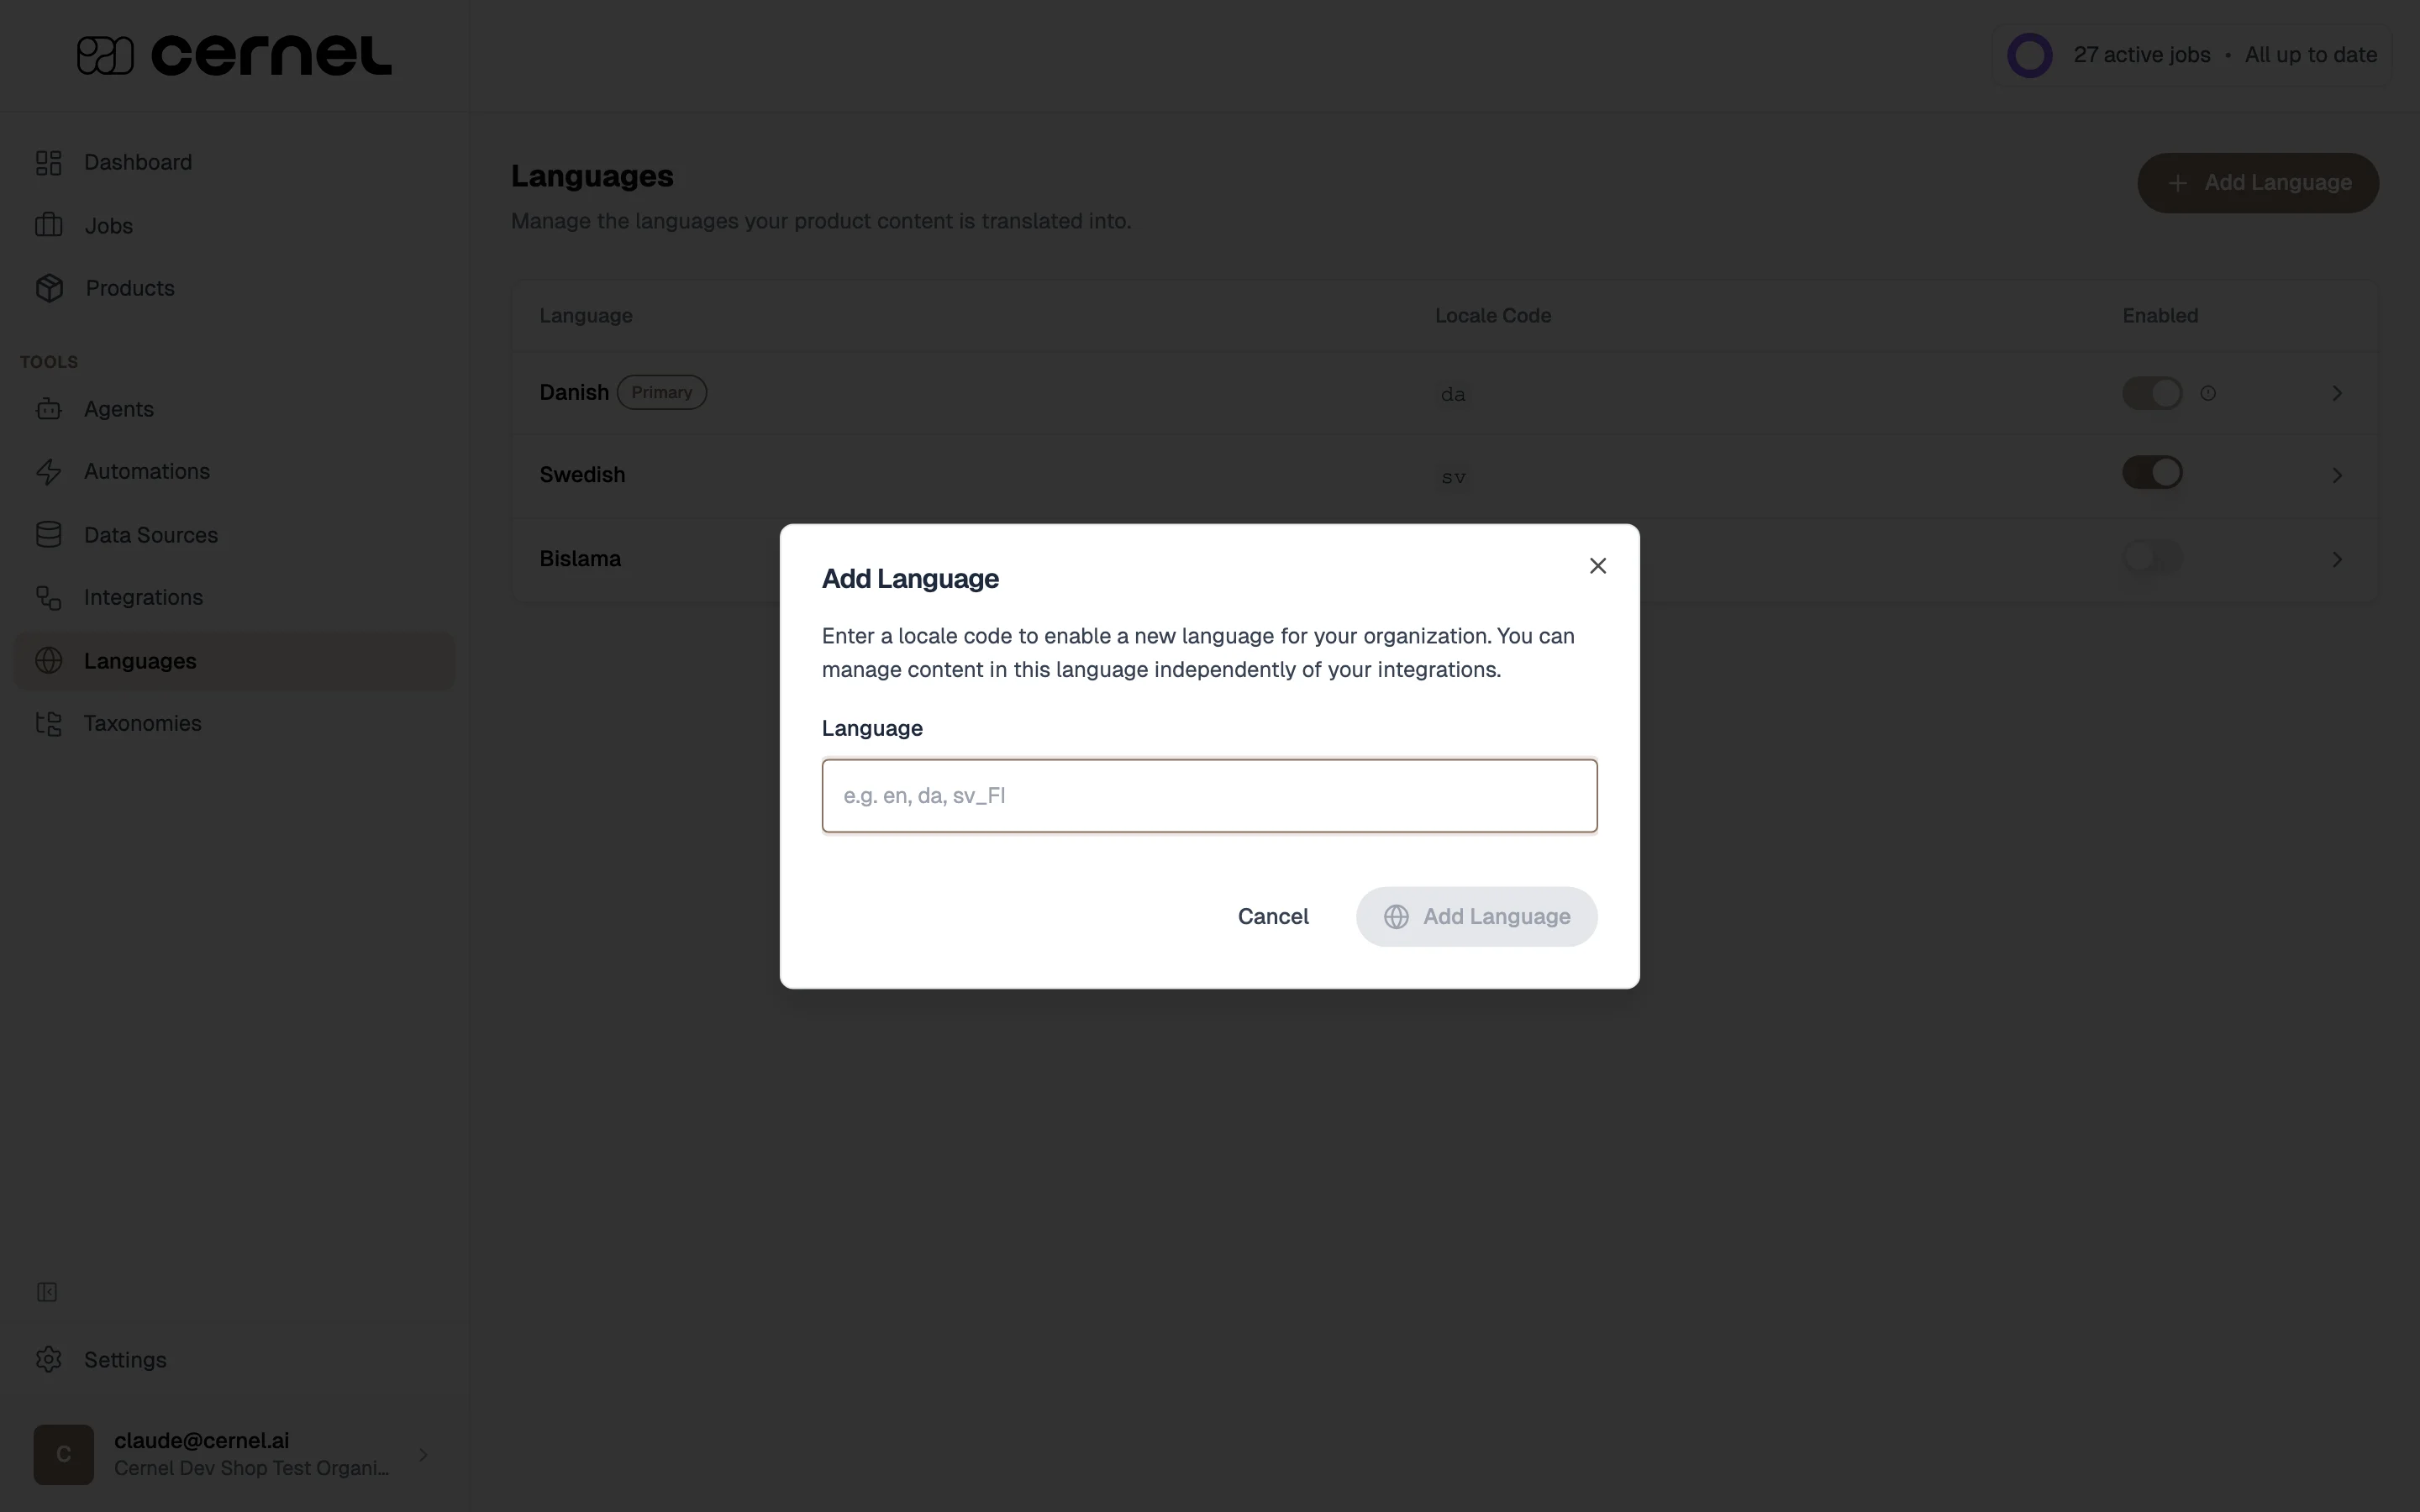
Click Add Language to enable a language that isn’t in your list yet. Type the language code you want, for example en for English, da for Danish, or a region-specific code like sv_FI for Swedish (Finland), and click Add Language. Once added, the language appears in your table.
Adding a new language to your organization
Language codes follow the IETF / ISO 639 conventions Cernel uses across the platform. Use a two-letter code (en, da, de) for a generic language, or combine a language and region with an underscore (sv_FI, pt_BR, en_GB) when you need region-specific content. The platform validates the code on submit, so if a code isn’t recognised you’ll see an error and can try again.
3
Configure a language's translation prompt
From Tools > Languages, click a language in the table to open its detail page. Here you can write a translation prompt for that language - instructions that guide how the AI produces content in it. Use it for:
Grammar and style rules specific to the language
Cultural conventions and preferences
Terminology that should (or shouldn’t) be used
Type / in the prompt editor to pull in a Data Source for reference, then click Save.
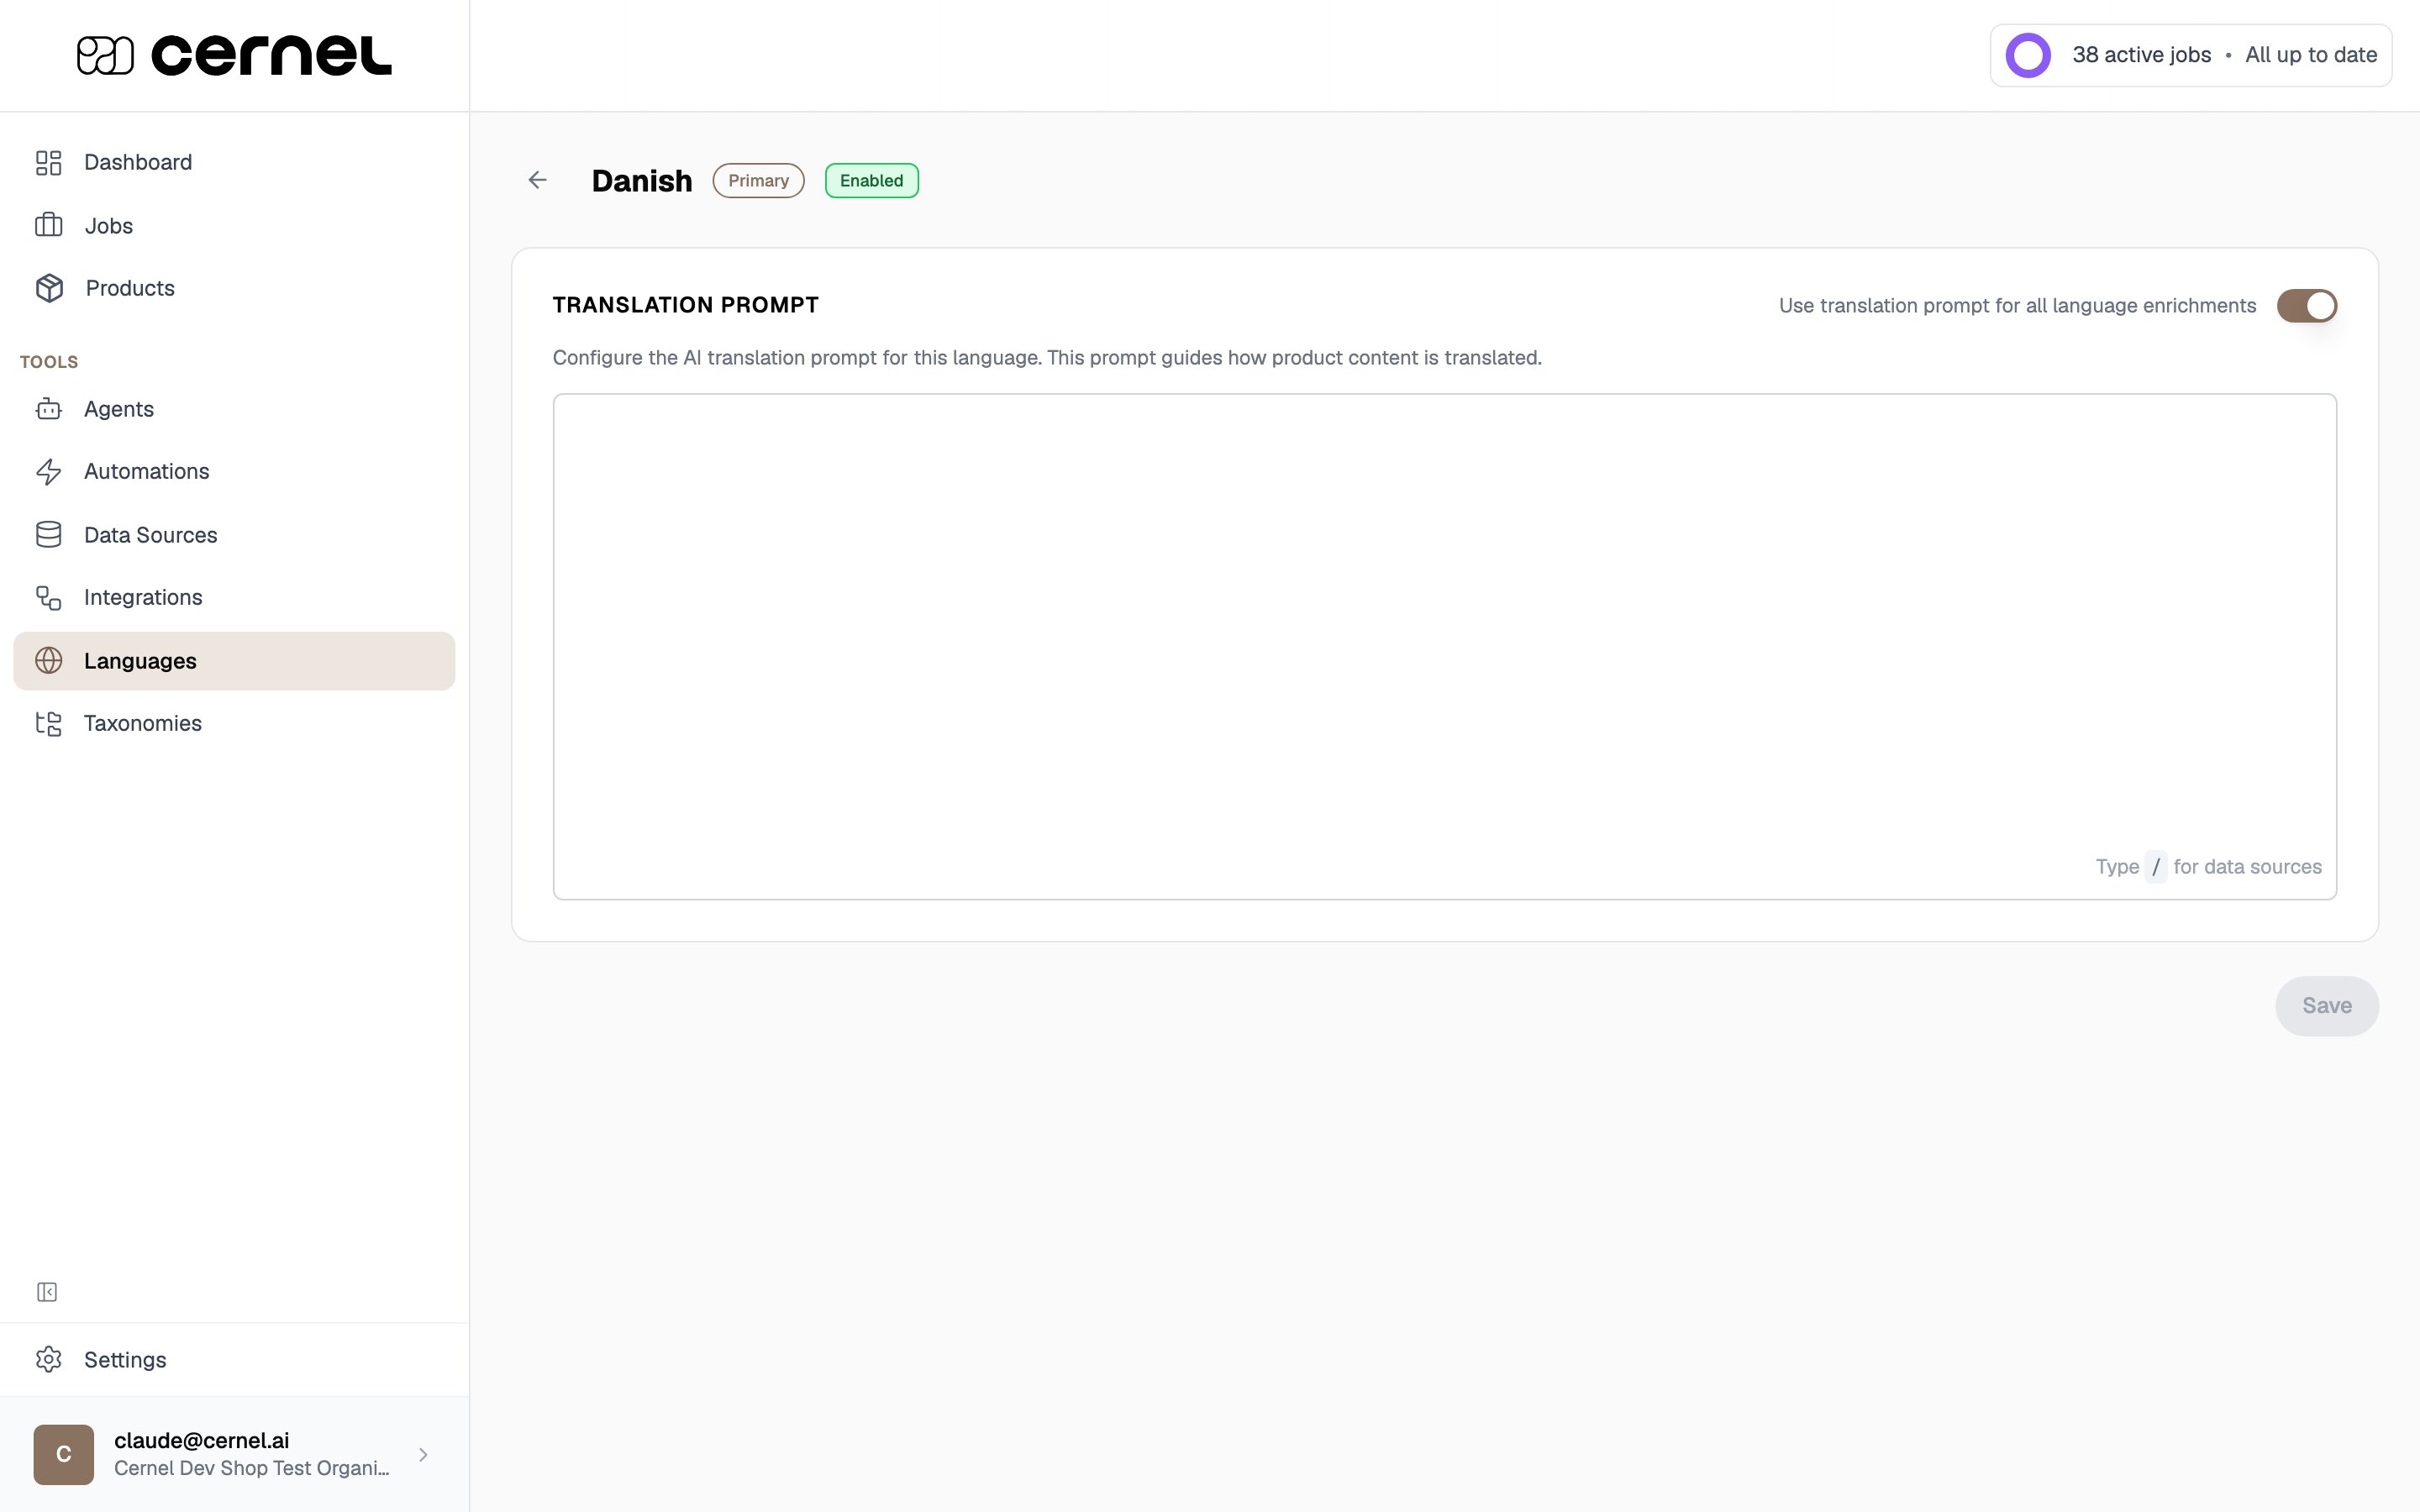
A language's detail page, with its translation prompt and the enrichment toggle
The Use translation prompt for all language enrichments toggle, at the top right of the Translation Prompt section, is on by default. While it’s on, Cernel automatically instructs your agents to write this language’s enriched content in that language, so your output always comes back correctly localised. Turn it off only if you’d rather control the output language entirely through your own prompts.
Your languages are configured. When you run enrichment, Cernel generates content in each enabled language, applying that language’s translation prompt.
A language’s translation prompt sets the rule for that language across your whole organization. Two further controls let you refine language behavior more precisely: per agent, and per attribute.
Each agent can carry its own instructions for each language, on top of the organization-wide settings. Open an agent, go to the Languages tab, and you’ll find one box per enabled language. Whatever you write in a box is applied when the agent writes a value in that language, and, for Text and HTML agents, when a value is translated into it. Leave a box empty to add nothing for that language. Type / in a box to reference a Data Source.Use this when a single agent needs a language rule the others don’t, for example a size-guide agent that must use metric phrasing in German, without changing how any other agent writes German.
An agent's Languages tab: a per-language instruction box for each enabled language, above the organization opt-out toggle
The Use the organization’s language instructions toggle above the boxes is on by default. While it’s on, the agent also gets the standard output-language directive when it writes, and the language’s translation prompt when it translates, in addition to anything you type in the boxes. Turn it off to make the agent’s own boxes the only language instructions it gets, replacing the organization’s wording instead of adding to it.The Languages tab appears on every agent that writes from a prompt. Taxonomy classification agents, which don’t use a prompt, don’t have it.
By default, each enrichment run decides which languages an attribute is written in, one plan for the whole run. You can instead fix that choice for a single attribute. Open the attribute’s agent settings, expand Enrichment Settings, and turn on Override language settings. A per-language plan appears where each enabled language is set to Generate, Translate, or Skip, the same editor you use when starting a manual enrichment. Once it’s on, that plan replaces whatever a run asks for, but only for this attribute.A new plan starts the way a run does: the attribute is written in your primary language and translated into the rest. Because the plan is a fixed list rather than a rule, a language you enable later sits outside it and is skipped for this attribute until you add it. Cernel notes under the editor which languages are currently left out, so the gap is easy to spot.
You edit these settings at the category where the attribute’s agent is set. Viewed from a subcategory that receives the attribute from a parent category, they show as read-only with a link to the category that owns them. They are also read-only until an agent is attached.
Besides per-language translation prompts, you can set Global Prompts per attribute type (Text, HTML, Single Select, Multi Select). These are configured in Settings > Global Prompts. They provide foundational instructions that apply to all agents generating that type of content.For example, a system prompt for HTML might say “Always use semantic HTML headings” while one for Single Select might say “When uncertain, choose the closest match rather than leaving empty.”
Translations for select attribute values
For Single Select and Multi Select attributes, the predefined values can be translated into each enabled language. When configuring an attribute, the Values section shows translation status for each value. You can auto-translate or enter translations manually.
Disabling a language
Disabling a language hides it from language selections but preserves all existing translations. You can re-enable it later without losing any data.
No. The same agents work across all languages. Cernel handles the language context through each language’s translation prompt and your language settings. Your agents focus on what to generate, not which language to use.
Can I enrich in only one language at a time?
The enrichment modal shows your enabled languages. Content is generated for all enabled languages by default. If you need content in just one language, you can manage this through your language settings.
What's the difference between a translation prompt and an agent prompt?
A translation prompt is set per language and applies automatically to all content generated in that language - it handles language-wide rules. Agent prompts define what content to generate and how. They work together: the agent prompt says “write a 150-word product description” and the language’s translation prompt adds “use formal Danish grammar.”
How do an agent's language instructions relate to a language's translation prompt?
They stack. A language’s translation prompt, set under Tools > Languages, applies to every agent writing in that language. An agent’s Languages tab adds instructions for that one agent only. With the agent’s Use the organization’s language instructions toggle on, the agent gets both. Turn it off and the agent’s own boxes replace the organization’s wording for that agent. See Give an agent its own language instructions.
How do I give each language its own reference content, like a per-market keyword list?
Use the agent’s per-language instruction boxes and point each one at a different Data Source. A Data Source entry is a single block of text you insert whole, so there’s no way to filter one shared entry down to a market’s slice. Instead, create one entry per market (for example seo/keywords-es, seo/keywords-fr), then open the agent, go to its Languages tab, and in each language’s box type / to reference only that market’s entry: the Spanish entry in the Spanish box, the French entry in the French box, and so on. A run in a given language then only pulls in the content from that language’s box, so each market sees only its own keywords. You don’t need separate agents to do this. See Give an agent its own language instructions.
When a language is set to Translate, does it keep the original prompt's rules?
Yes. When a language is set to Translate (rather than Generate), Cernel translates the value produced in the source language instead of writing it again from scratch. The translation reuses the prompt that generated the original value as read-only guidance, so the translated value honors the same length, tone, and format rules as its source. For example, a value written to a 150-word limit stays within that limit after translation. Each translated value also passes the same quality check Cernel applies to generated content, so corrupted output is caught and retried automatically.